Getting Started with the ironSource Unity Plugin
Before You Start
We support Unity version 5 and up.
Step 1. Add the IronSource Unity Package to Your Project
When upgrading from older SDK versions to the ironSource SDK 6.7.0 and above, you must update all mediation adapters.
Follow these steps to add the IronSource Unity Package to your project:
- Download the IronSource Unity Plugin here.
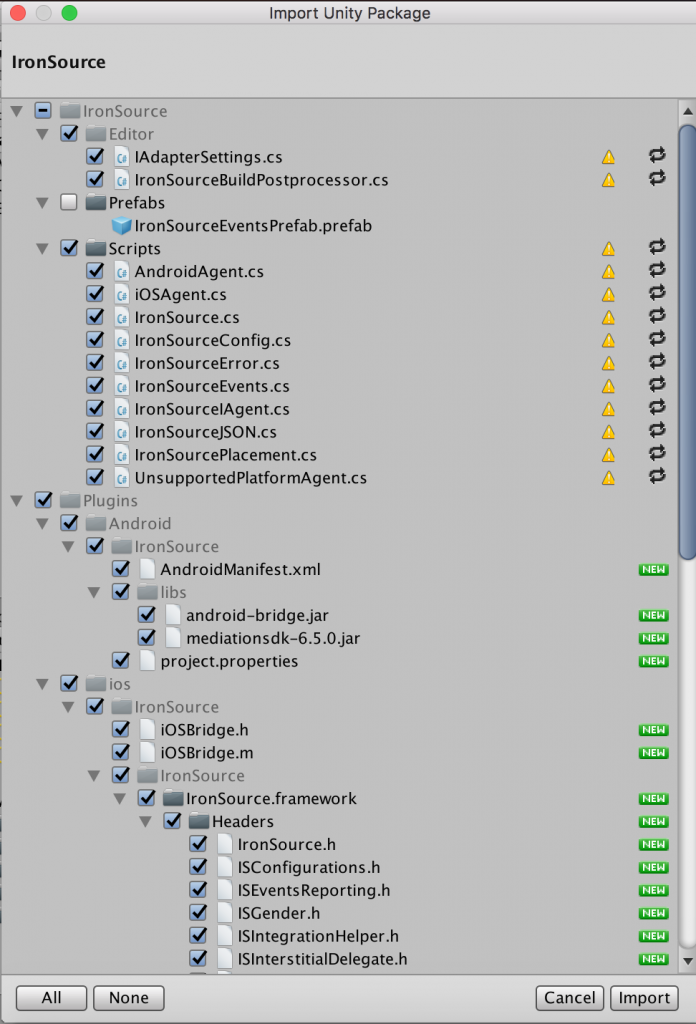
- Make sure your Unity project is opened and import the Unity package.
- Double-click on the extracted file; the different files will be populated automatically as shown below:
Important! Using the Unity Editor with the ironSource SDK
The ironSource SDK is designed to work with the Android & iOS platform. The Unity Editor contains a Simulator to work with Unity code. In order to work with our plugin, you must target either an Android or iOS build to test the integration.
Step 2. Additional Settings for Android
If you do have an AndroidManifest, please uncheck the box and follow the steps below.
- Update AndroidManifest.xml
Add the following to your AndroidManifest.xml:- Manifest Permissions
Add the following permissions to your AndroidManifest.xml file outside the <application> tag:<uses-permission android:name="android.permission.INTERNET" /> <uses-permission android:name="android.permission.ACCESS_NETWORK_STATE" />
- Manifest Activities
Add the following activities inside the <application> tag on your manifestAdditions:
<activity
            android:name="com.ironsource.sdk.controller.ControllerActivity"
            android:configChanges="orientation|screenSize"
            android:hardwareAccelerated="true" />
<activity
            android:name="com.ironsource.sdk.controller.InterstitialActivity"
            android:configChanges="orientation|screenSize"
            android:hardwareAccelerated="true"
            android:theme="@android:style/Theme.Translucent" />
<activity
            android:name="com.ironsource.sdk.controller.OpenUrlActivity"
            android:configChanges="orientation|screenSize"
            android:hardwareAccelerated="true"
            android:theme="@android:style/Theme.Translucent" />
- Manifest Permissions
- Google Play Services
- Download the support-v4-[version].jar. Add the jar to your project under App/Libs.
- We recommend using Google Play Services as the ironSource Plugin requires the Android Advertising ID to ensure ad inventory at scale. Follow this guide on how to integrate the Google Play Services AAR.
Step 3. Additional Settings for iOS
- Add Ad-Support.framework to Your Xcode Project
Our Unity Plugin usually adds all the required frameworks automatically. In some cases, the AdSupport.framework can’t be added automatically using Unity 5. Verify if the framework has been added and in the case it has not been added automatically, make sure to add it manually. - iOS9 App Transport Security Settings
Important! In iOS9, Apple has added in controls around ‘ATS’. In order to ensure uninterrupted support for ironSource Ad delivery across all Mediation Networks, it’s important to make the following changes in your info.plist:- Add in a dictionary called ‘NSAppTransportSecurity‘. Make sure you add this dictionary on the ‘Top Level Key‘.
- Inside this dictionary, add a Boolean called ‘NSAllowsArbitraryLoads‘ and set it to YES.
 Note: Note: Make sure that your info.plist does not contain any other exceptions besides ‘NSAllowsArbitraryLoads‘, as this might create a conflict.
Step 4. Initialize the Ad Units
Application State
First, you’ll need to pass the state of the application by executing the following event function during the Application Lifecycle.
Call onApplicationPause in each of the Unity Scenes:
void OnApplicationPause(bool isPaused) {
  IronSource.Agent.onApplicationPause(isPaused);
}
Init the Plugin & Ad Units
You can initialize the plugin in two ways. We recommend the first method as it will fetch the specific ad units you define.
- This method will init the specific ad units mentioned in the adUnits parameter:
IronSource.Agent.init (YOUR_APP_KEY, IronSourceAdUnits.REWARDED_VIDEO, IronSourceAdUnits.INTERSTITIAL, IronSourceAdUnits.OFFERWALL, IronSourceAdUnits.BANNER);
New! When using this init approach, you can now initialize each ad unit separately at different touchpoints in your app flow in one session.
//For Rewarded Video
IronSource.Agent.init (YOUR_APP_KEY, IronSourceAdUnits.REWARDED_VIDEO);
//For Interstitial
IronSource.Agent.init (YOUR_APP_KEY, IronSourceAdUnits.INTERSTITIAL);
//For Offerwall
IronSource.Agent.init (YOUR_APP_KEY, IronSourceAdUnits.OFFERWALL);
//For Banners
IronSource.Agent.init (YOUR_APP_KEY, IronSourceAdUnits.BANNER);
- Alternatively, you can init the SDK as detailed below and the SDK will init the ad units you’ve configured on the ironSource platform:
IronSource.Agent.init (YOUR_APP_KEY);
Step 5. Verify Your Integration
The ironSource SDK provides an easy way to verify that your Rewarded Video Mediation integration was completed successfully. To verify your ironSource SDK integration as well as any additional Ad Networks you have implemented, simply add this method to your project:
IronSource.Agent.validateIntegration();
For more details on the ironSource Integration Verification tool navigate to this article.
For Proguard Users Only
If you are using ProGuard with the ironSource SDK, you must add the following code to your ProGuard file (Android Studio: proguard-rules.pro or Eclipse: proguard-project.txt):
-keepclassmembers class com.ironsource.sdk.controller.IronSourceWebView$JSInterface {
    public *;
}
-keepclassmembers class * implements android.os.Parcelable {
    public static final android.os.Parcelable$Creator *;
}
-keep public class com.google.android.gms.ads.** {
   public *;
}
-keep class com.ironsource.adapters.** { *;
}
-keep class com.ironsource.unity.androidbridge.** { *;
}
Done!
You are now ready to start working with ironSource’s Ad Units and Mediation Tools.
What’s Next?
Once you’ve verified your integration with the Integration Helper, follow our integration guides and implement our Ad Units:
Interested in Mediation? Integrate our Rewarded Video or Interstitial Ads in your app and follow our Mediation articles.