Vungle Mediation Integration Guide for SDK 6.4
This guide will instruct you step-by-step on how to set Vungle live as an Ad Network on the ironSource Mediation platform. The integration process is completed in a few simple steps:
- Create a Vungle Account
- Create an Application in Vungle
- Activate Vungle in Your ironSource Network Setup Module
- Add the Vungle Adapter to Your Build
- Update AndroidManifest.xml
Before You Start
Make sure you have correctly integrated ironSource’s Rewarded Video or Interstitial into your application.
Step 1. Create a Vungle Account
- Create an account with Vungle. You can do so here.
- Once your account has been verified you can log in at their partner login here.
Step 2. Create an Application in Vungle
- Once you log in, go to the Pub/Management drop-down in the upper-left corner.
Select ‘Management’ and scroll down the page till you see the below module. Select ‘Add New Application’:

- Define the settings of your app:

- Platform – iOS or Android
- Application Name – Enter the name of your application. If it is live in the AppStore or Google Play, Vungle will automatically import most of the settings and auto-fill the form on your behalf.
- Category – You can select the application Category.
- Type – Select Free or Paid.
- Orientation – Select Landscape.
Here you can define custom settings for the controls of your video ads from Vungle:
- Frequency Cap – We recommend 0 cap. This can be controlled for ALL Mediated Networks via your ironSource platform.
- Force View – We recommend keeping the ‘Force View’ settings. These improve conversion and eCPM.
- Maximum Ad Duration – We recommend 60+. This increases the amount of available video inventory Vungle can serve and increases total revenue potential.
- Callback URL – Leave this empty. If you choose to use server-to-server callbacks this will be handled directly by the ironSource SDK for all Mediated Networks.

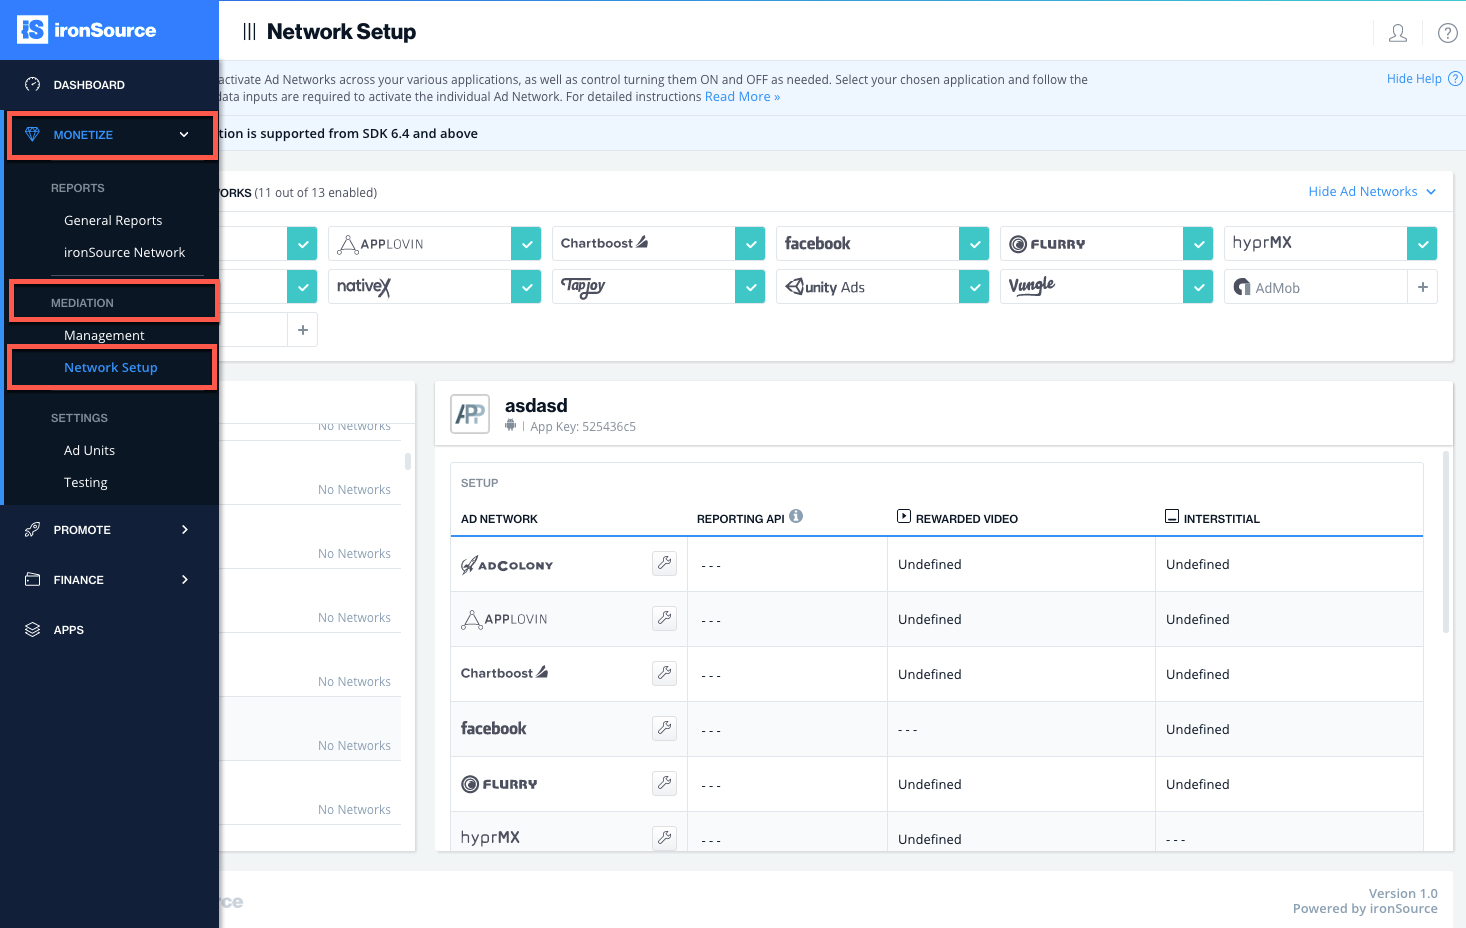
Step 3. Activate Vungle in Your ironSource Network Setup Module
There are 3 pieces of Data from the Vungle account which need to be inserted into your ironSource Network Setup Module in order for Vungle to work correctly in connection with ironSource:
| Vungle App ID | This is the unique identifier of your application in Vungle’s system. |
| Reporting API ID | This is a unique identifier for your app in Vungle’s system, used with the Reporting API to track app performance. |
| Reporting API Key | This is a unique identifier for your Vungle account. Along with the Reporting API ID, this will allow your ironSource Mediation Platform to import performance data from your Vungle account. |
Once you obtain this information, you must configure Vungle’s Parameters in your ironSource Account. By adding the above information correctly, you will be able to take full advantage of Vungle’s ad inventory and reporting data on ironSource‘s Mediation platform.
-
Vungle Application ID
Select ‘Details‘ from the top Navigation panel. You will see your ‘Account Stage‘. Select your account and the app that you want to run Vungle Ads on through ironSource‘s Mediation:
 You will be redirected to the specific app’s page where you will be able to collect your ‘Vungle Application ID‘:

-
Reporting API ID
Just below your ‘Vungle Application ID‘, you will find your ‘Reporting API ID‘.
-
Reporting API Key
Select ‘Details‘ from the top Navigation panel once again. You will see your ‘Account Stage‘. Scroll to the bottom of this page and you will spot the ‘Users‘ section. Here you can view the ‘Reporting API‘:

Configure Vungle’s Parameters into ironSource Account
- Once you have all of these parameters, log in to your ironSource account and go to ‘Monetize‘ ➣ ‘Mediation‘ ➣ ‘Network Setup‘.
- Select Vungle from the list of Available Ad Networks and enter the Vungle ‘API Key‘.
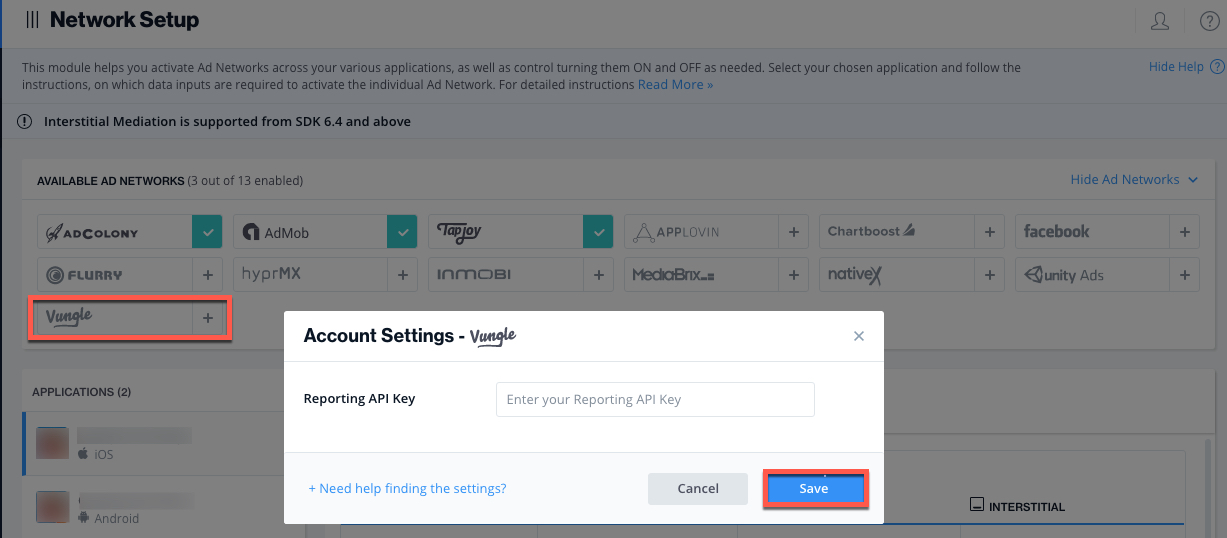
- Click ‘Save‘. Vungle will then be enabled in the Available Ad Networks table.
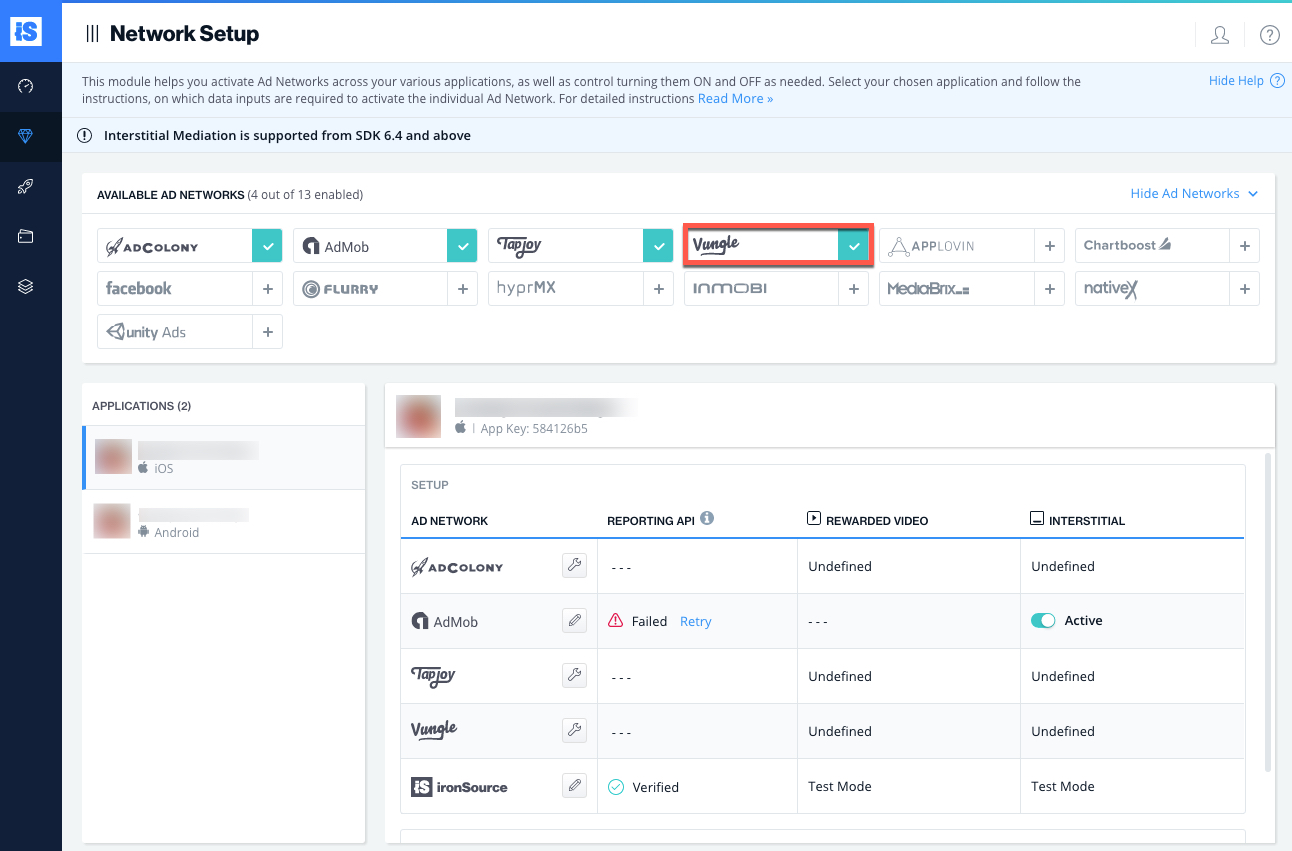
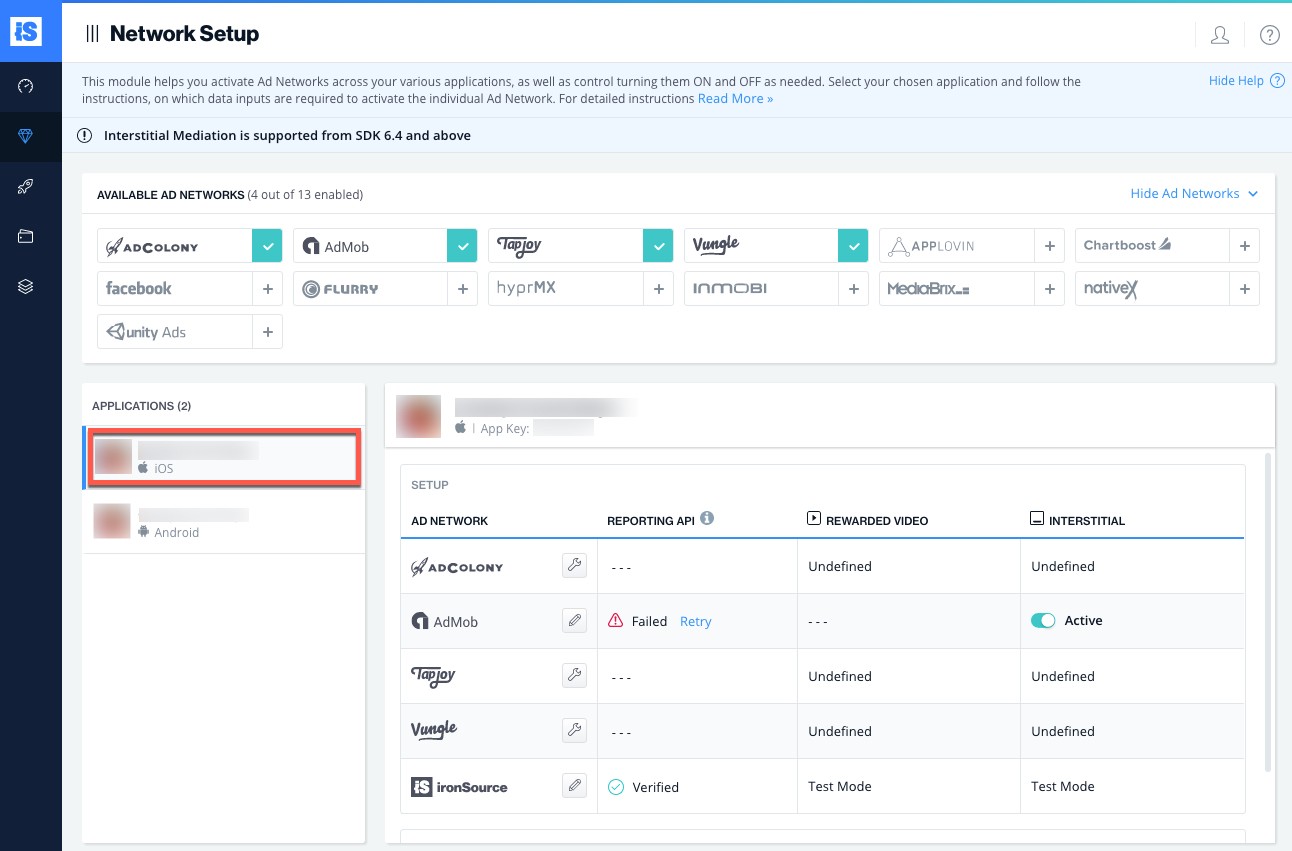
- Select the app on which you’d like to run ironSource’s Interstitial Mediation with Vungle.
- Select Vungle from the Setup list of Ad Networks and click on ‘Define‘. Insert the ‘App ID‘ and the ‘Reporting API ID‘ for Rewarded Video or Interstitial in the relevant fields. Set status to Active and click ‘Save’.
Note: Note: Vungle only allows the activation of one type of ad unit at a time, either Rewarded Video or Interstitial.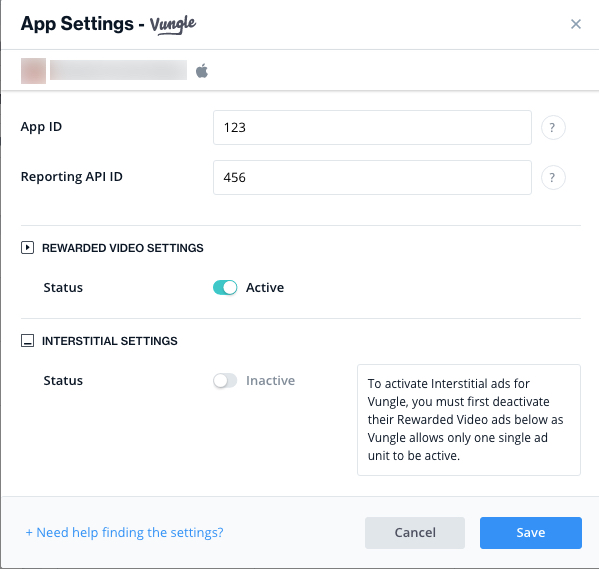
- You will then see Vungle as Active on your Setup Dashboard.
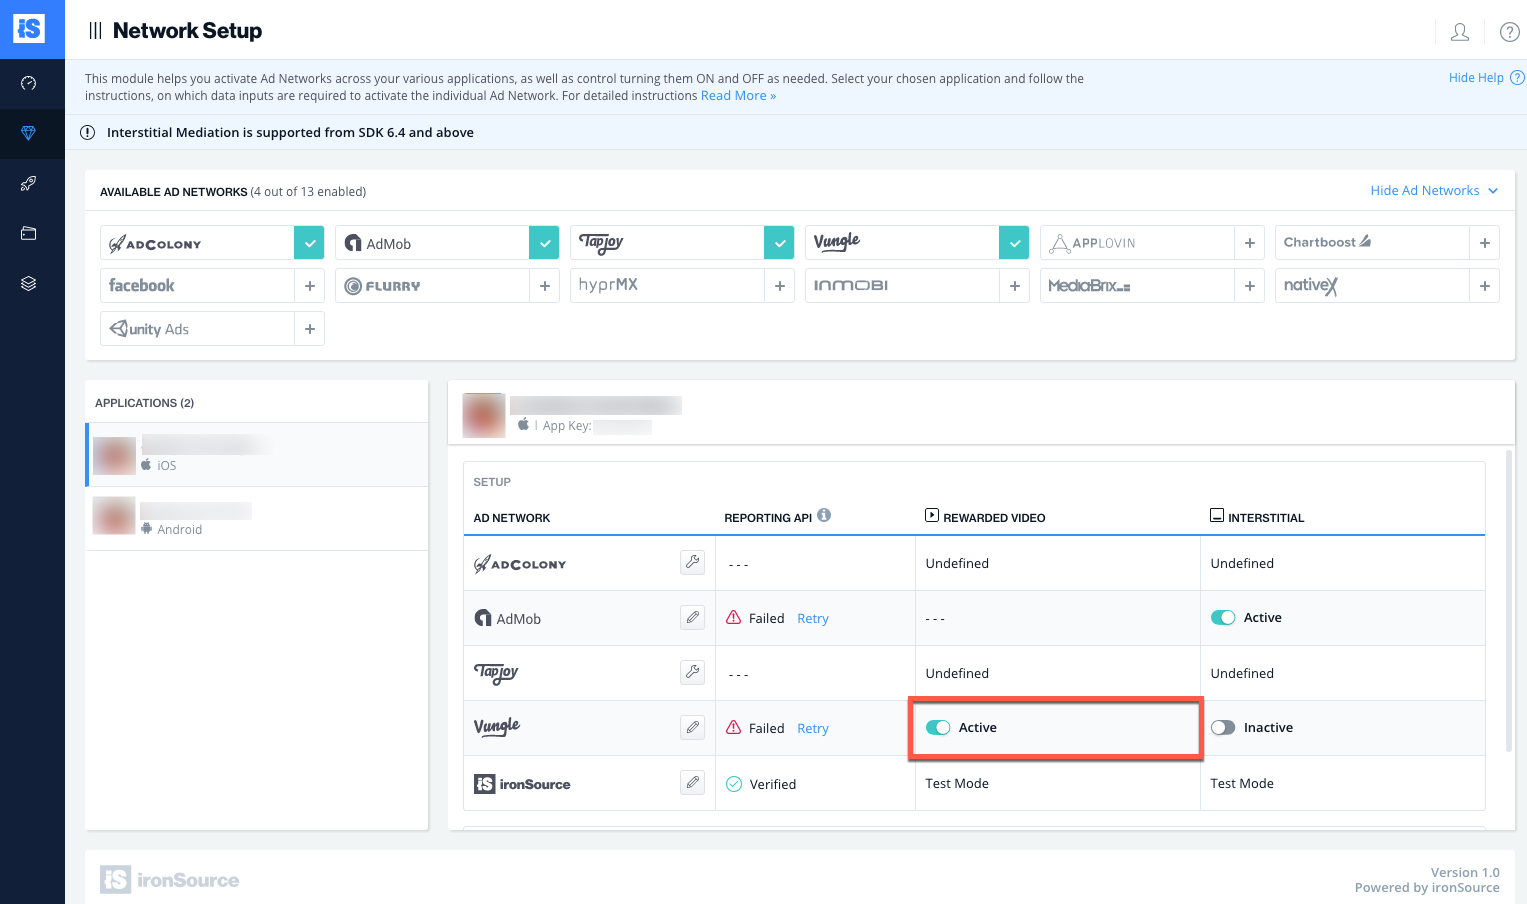
- New! Verify your integration with the Reporting API; this column will check your integration through the Reporting API and return three possible responses: Verified, Failed and No Response. Double check your integration and the information you entered above; then click ‘Retry‘ until you see ‘Verified’.
Step 4. Add the Vungle Adapter to Your Build
Android
ironSource supports both Gradle dependencies and manual download mechanisms.
Gradle:
- Make sure the following Maven URL exist in your build.gradle script of your app module. (should appear only once for all the adapters)
repositories { maven { url "https://dl.bintray.com/supersonic/android-adapters" } } - Add the adapter’s Maven name to your build.gradle script of your app module.
dependencies { compile 'com.supersonic.adapters:vungleadapter:2.1.2@jar' } - Manually download dagger-x.x.x.jar and javax.inject-x.jar.
Add the dagger-x.x.x.jar and javax.inject-x.jar to your project under App/Libs. Alternatively, you can add the below to your Gradle build file:compile 'com.google.dagger:dagger:2.7' compile 'javax.inject:javax.inject:1' compile 'com.google.android.gms:play-services-location:8.4.0'
Manual download:
- Download the Vungle Adapter:
Add the Vungle Adapter to your build. You can find the latest Vungle Adapter here.
Important! The Vungle Adapter also contains the Vungle jar. You DON’T need to additionally add the Vungle jar directly. - Add the Vungle Adapter to your Project:
After you download the Adapter; drop the Vungle Adapter jar into the libs folder in your Android project. - Download dagger-x.x.x.jar and javax.inject-x.jar. Add the dagger-x.x.x.jar and javax.inject-x.jar to your project under App/Libs.
Important! The zip you have downloaded from Vungle will also include the main vungle_publisher_adaptive_id_xxx.jar. This jar is already included within the ironSource Vungle Adapter. Do NOT add it to your build manually. It will cause duplicate symbol errors when you compile.

Step 5. Update AndroidManifest.xml
Manifest permissions:
Add the following permissions inside the manifest tag but outside the <application> tag:
<uses-permission android:name="android.permission.WRITE_EXTERNAL_STORAGE" android:maxSdkVersion="18"/>
<uses-permission android:name="android.permission.ACCESS_NETWORK_STATE" />
Manifest activities:
Add the following activities inside the <application> tag on your manifest:
<activity android:name="com.vungle.publisher.VideoFullScreenAdActivity"
android:configChanges="keyboardHidden|orientation|screenSize|screenLayout|smallestScreenSize"
android:theme="@android:style/Theme.NoTitleBar.Fullscreen"/>
<activity android:name="com.vungle.publisher.MraidFullScreenAdActivity"
android:configChanges="keyboardHidden|orientation|screenSize|screenLayout|smallestScreenSize"
android:theme="@android:style/Theme.Translucent.NoTitleBar.Fullscreen"/>
For Proguard Users Only
If you are using ProGuard with the Vungle adapter, you must add the following code to your ProGuard file (Android Studio: proguard-rules.pro or Eclipse: proguard-project.txt):
-keep class com.vungle.** { public *; }
-keep class javax.inject.*
-keepattributes *Annotation*
-keepattributes Signature
-keep class dagger.*
Verify Your Ad-Network Integration
The ironSource SDK provides an easy way to verify that your mediation integration was completed successfully. To verify your ironSource and additional Ad Networks integration, follow this document.
Done!
You are now all set to deliver Vungle Ads within your application!
What’s Next?
To add additional Ad networks, follow the integration guides on our Supported Ad Networks list.