InMobi Mediation Integration Guide for SDK 6.4 and Below
This guide will instruct you step-by-step on how to set InMobi live as an Ad Network on the ironSource Mediation platform. The integration process is completed in a few simple steps:
- Create an InMobi Account
- Create an Application and Placement in InMobi
- Create an Application
- Create a Placement
- Finalize the App Setting
- Activate InMobi in Your ironSource Network Setup Module
- Add the InMobi Adapter to Your Build
Before You Start
Make sure you have correctly integrated ironSource‘s Rewarded Video or Interstitial into your application.
Step 1. Create an InMobi Account
- Create an account with InMobi. You can do so here.
- Once your account has been verified you can login at their partner login here.
Step 2. Create an Application and Placement in InMobi
To configure your application on InMobi, complete the following steps:
-
Create an Application
- After you login you will immediately see the ‘Add an App’ option:
 You can enter the URL of your app in the AppStore or Google Play and select ‘Look Up‘.
 - Alternatively, if your app is not live yet, select ‘Have an app that isn’t yet published?‘
You can then manually enter your application’s name and select its platform:

Please check the box if your app is specifically directed to children under the age of 13 for specific filtering and targeting reasons. - Once finished select ‘Add App‘.
Note: Note: You will need a unique InMobi application per platform (iOS + Android) just like you do with your ironSource account.
- After you login you will immediately see the ‘Add an App’ option:
-
Create a Placement
Once you have created an application, you must create a Placement. Placements are locations to which InMobi will deliver specific Ad-types. This will be the placement in your app where you have configured the ironSource Rewarded Video or Interstitial to trigger.
- For Video Ads, select ‘Rewarded Video’, and then ‘Create Placement‘:

- For Interstitial Ads, select ‘Interstitial’, and then ‘Create Placement‘:

- After you create the Placement you will see the details about this placement. Select ‘Proceed to Integration‘:

- For Video Ads, select ‘Rewarded Video’, and then ‘Create Placement‘:
-
Finalize the App Setting
The final section in the app setup is ‘Integrate and Test‘. ironSource provides an Adapter for the InMobi SDK with all the code pre-written, so there isn’t any integration work you need to do at this stage. Simply choose ‘Other‘ as your development platform and select ‘Done‘.

Step 3. Activate InMobi in Your ironSource Network Setup Module
There are 5 pieces of Data from the InMobi account which need to be input into your ironSource Network Setup Module in order for InMobi to work correctly in connection with ironSource:
| Username | This is the username you use to login to your InMobi account. This is required for ironSource to access the InMobi reporting API for your account, which allows your ironSource Mediation Platform to import performance data from your InMobi account to use in reporting & optimization. |
| Password | This is the password you use to login to your InMobi account. This is required along with the username in order for ironSource to access reporting information for your account. |
| API Key | This is the unique key to verify requests made for reporting info. |
| Account ID | This is the unique identifier for your InMobi account. |
| Placement ID | This is the unique Placement to which InMobi will deliver ads to. |
Once you obtain this information, you must configure InMobi’s Parameters in your ironSource Account. By adding the above parameters correctly, you will be able to take full advantage of InMobi’s ad inventory and reporting data on ironSource‘s Mediation platform.
-
Username
This is the username you use to log in to your InMobi account.
-
Password
This is the password you use to log in to your InMobi account.
-
API Key
This is the unique key to verify requests made for reporting info. To receive this info, email InMobi at ‘helpdesk@inmobi.com‘ and they will provide this parameter for your account.
-
Account ID
This is the unique identifier for your InMobi account. To locate this parameter, hover over the Drop-down arrow in the top right-hand corner of your admin panel. You will then see your ‘Account ID‘ listed:

-
Placement ID
To find your applications ‘Placement ID‘, select ‘Monetize‘ from the top navigation header ➣ select the relevant app from your list ➣ select the name of the relevant placement for this app. A pop-up dialog will open the listing of ‘Placement ID‘:

Configure InMobi’s Parameters into ironSource Account
Once you obtain the above parameters, log in to your ironSource account.
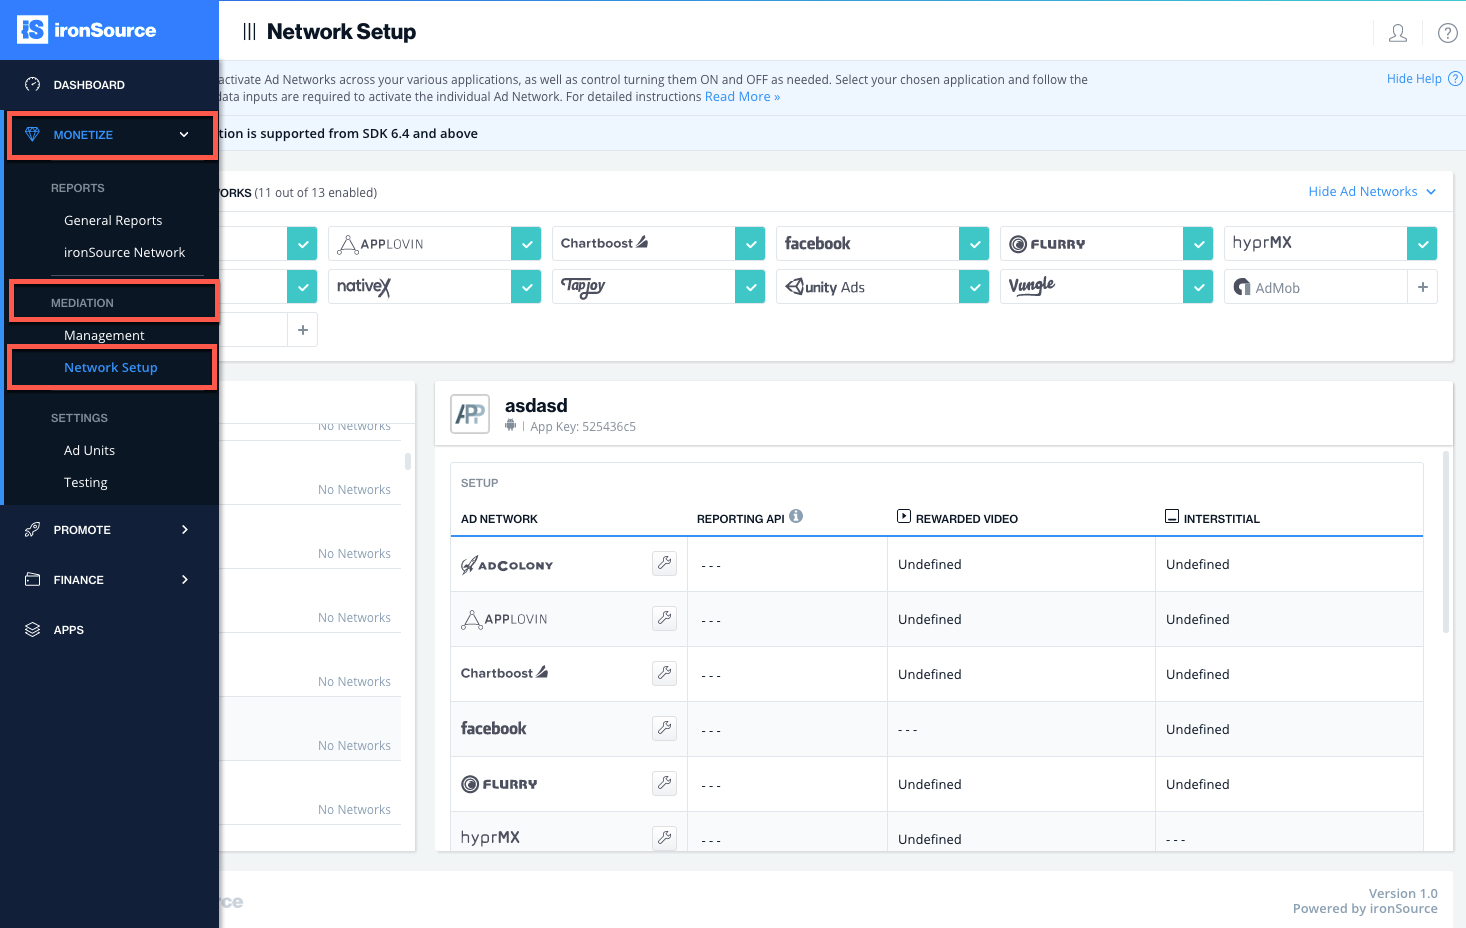
- Go to ‘Monetize‘ ➣ ‘Mediation‘ ➣ ‘Network Setup‘.
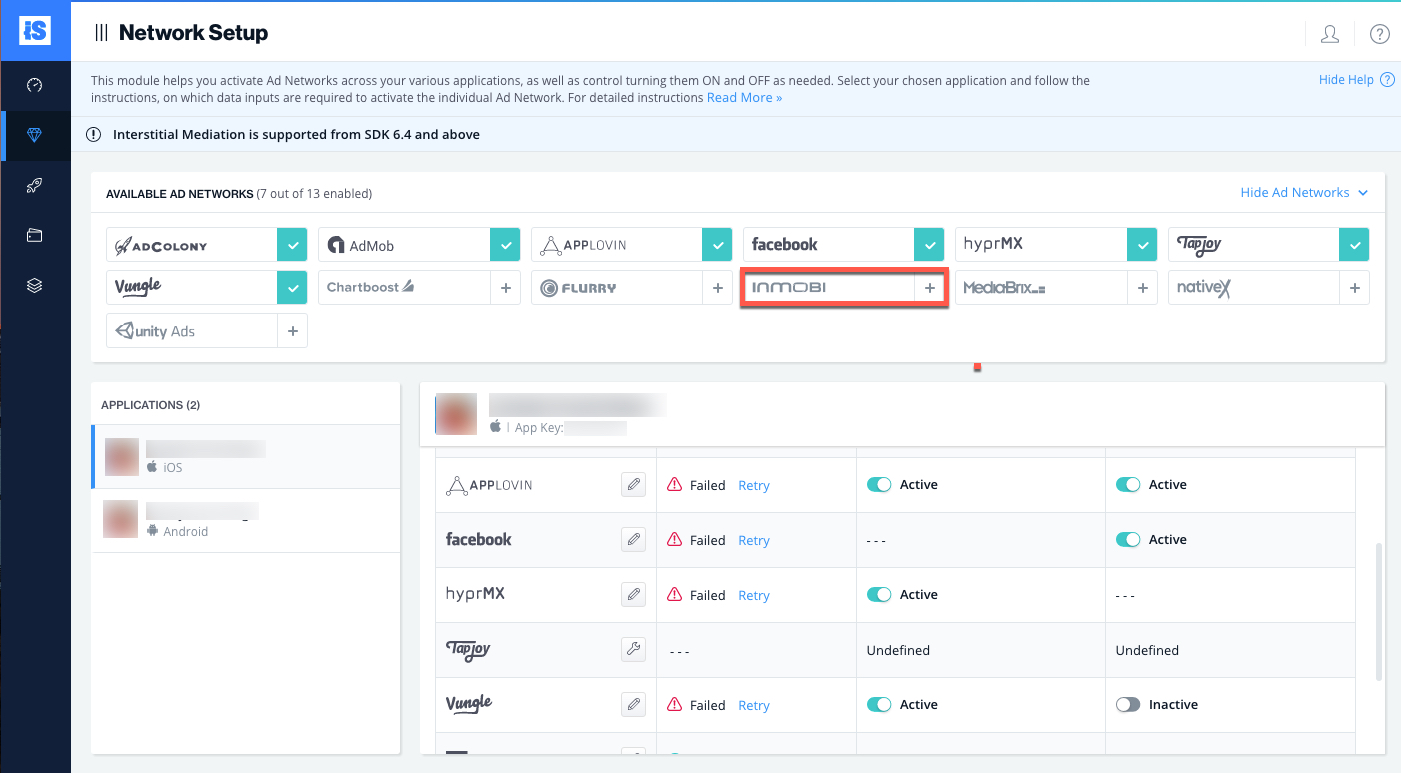
- Select InMobi from the table of Available Ad Networks.
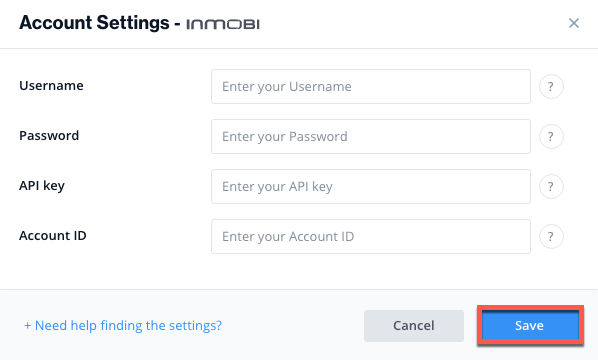
- Enter your InMobi ‘Username‘ , ‘Password‘ , ‘API Key‘ and ‘Account ID‘ in the relevant fields.
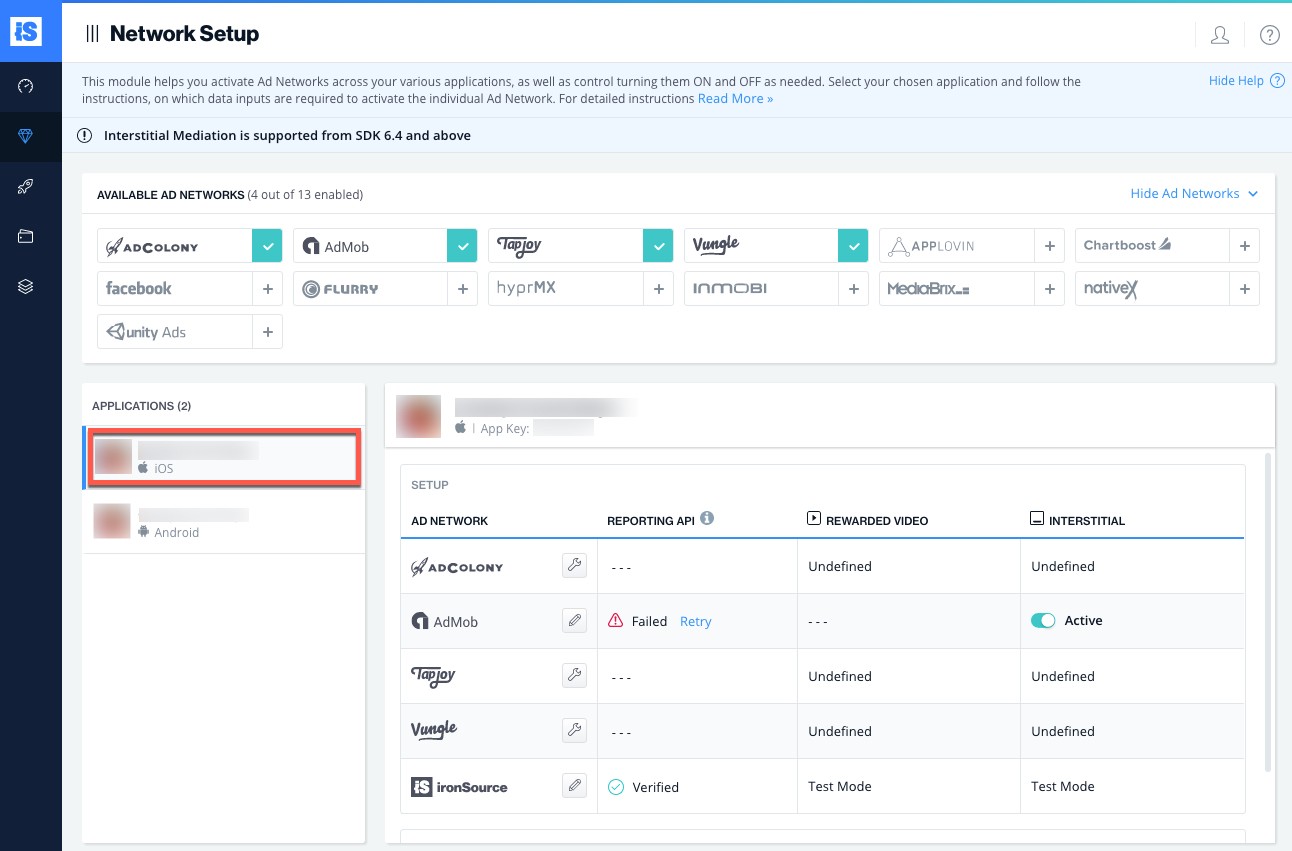
- Select the app on which you’d like to run ironSource’s Interstitial Mediation with InMobi.
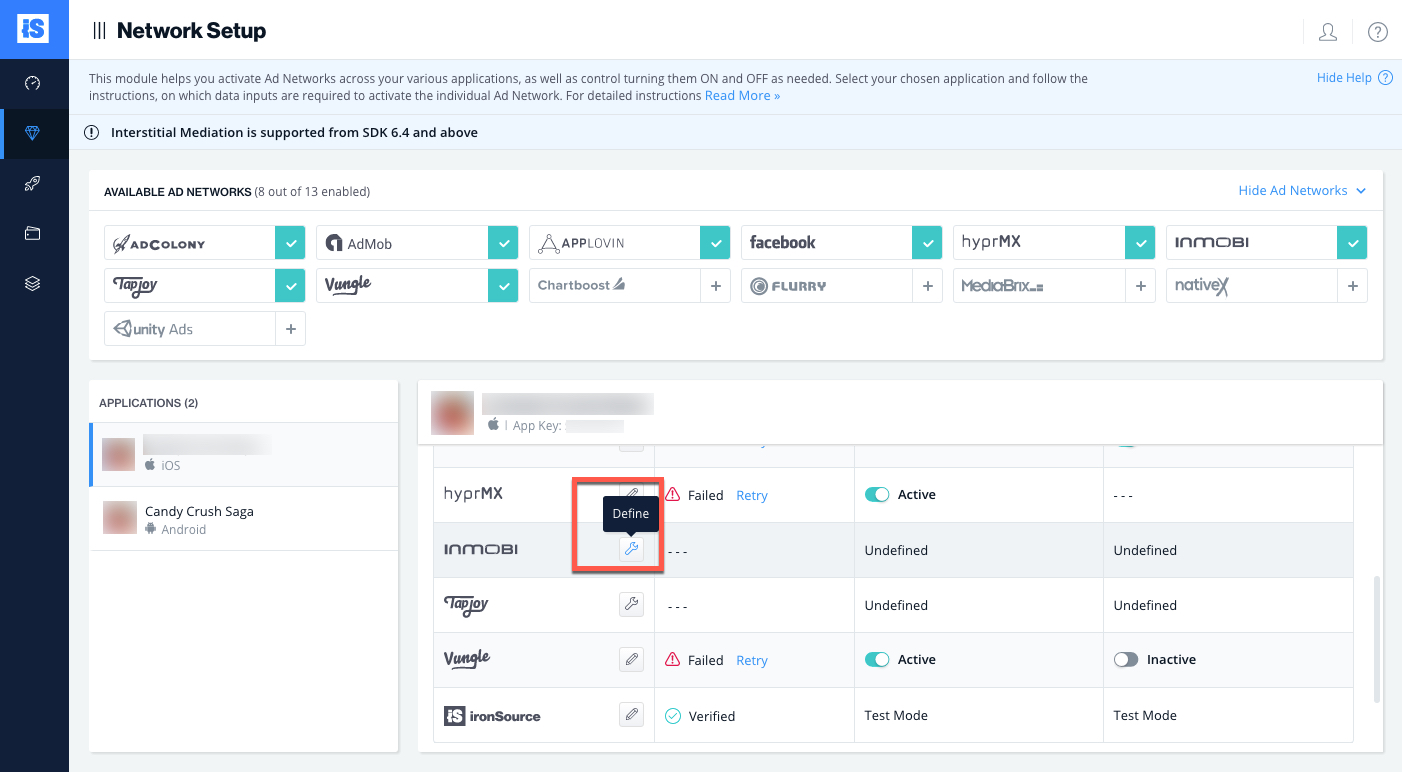
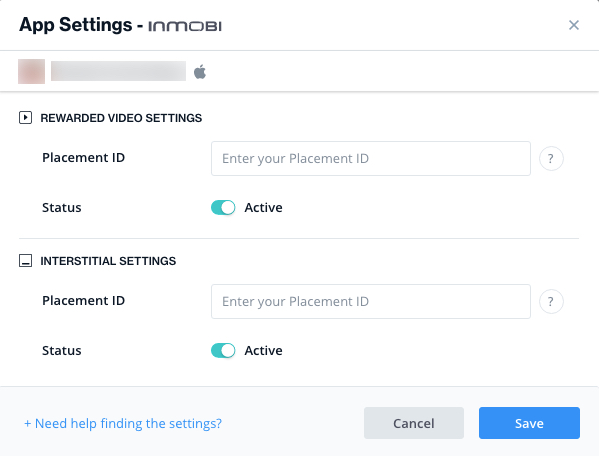
- Scroll down to InMobi from the Setup list of Ad Networks and click on the ‘Define‘ icon. Enter the Placement ID, under the Rewarded Video or Interstitial Settings. Set status to Active and click ‘Save’.
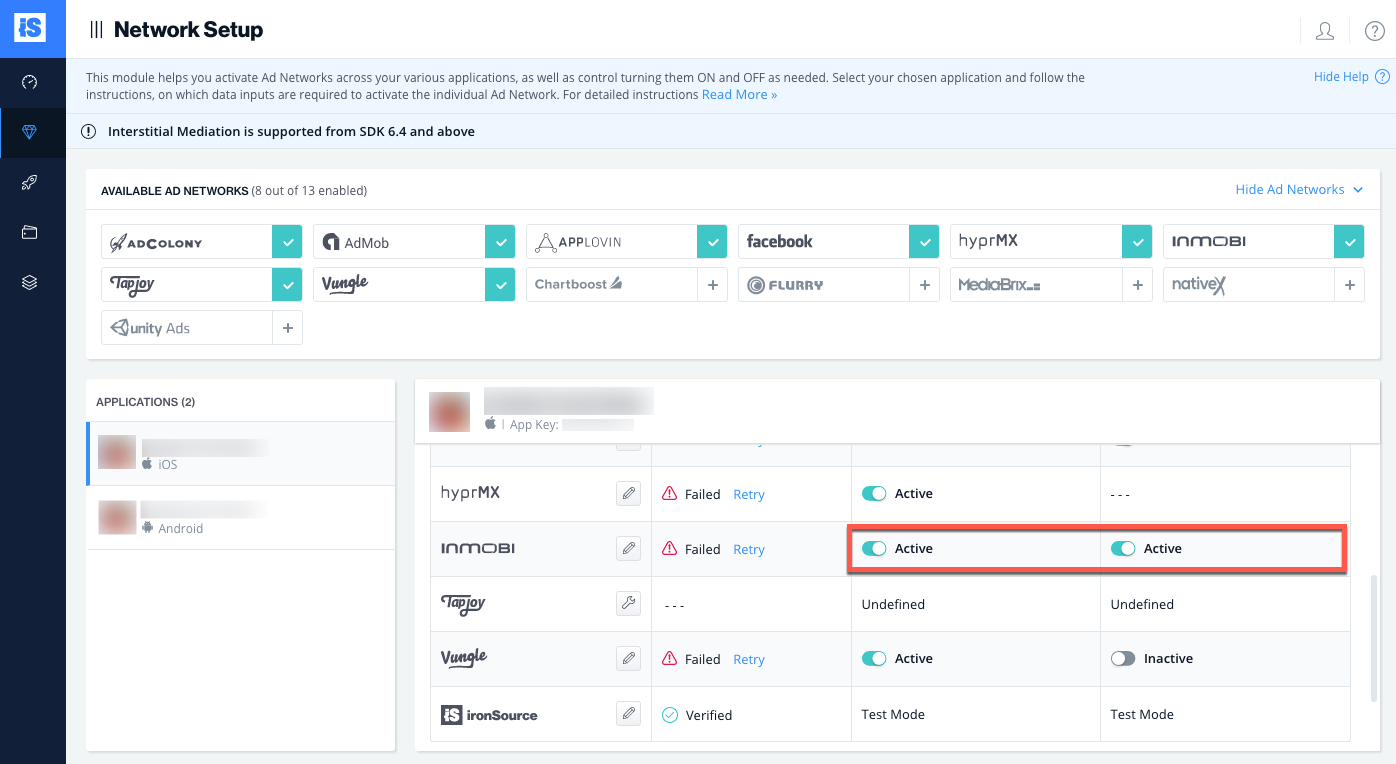
- You will then see InMobi as Active for Mediation on your Setup Dashboard.
- New! Verify your integration with the Reporting API; this column will check your integration through the Reporting API and return three possible responses: Verified, Failed and No Response. Double check your integration and the information you entered above; then click ‘Retry‘ until you see ‘Verified’.
Step 4. Add the InMobi Adapter to Your Build
Unity Plugin (Android Integration)
- Download the InMobi Unity Package:
Import the SupersonicInMobiAdapter_[version].unitypackage to your Unity project. You can find the latest InMobi Unity Package here. - Add the InMobi files to your Unity project:
To add the adapter, simply double click on the SupersonicInMobiAdapter_[version].unitypackage and add all files to your Unity project.
Note: Note: If you are upgrading from a previous version, please remove InMobi–.x.x.x.jar from Assets/Plugins/Android. - Add Required Dependencies
android-support-v7-appcompat
android-support-v7-recyclerview
android-support-v4
- Update AndroidManifest.xml
Manifest permissions: (Optional)
Add the following permissions to your Application Descriptor.xml file inside the manifestAdditions tag but outside the<application> tag:
<uses-permission android:name="android.permission.INTERNET" />
<uses-permission android:name="android.permission.ACCESS_NETWORK_STATE" />
Manifest activities:
Add the following activities inside the <application> tag on your manifest:
<activity
    android:name="com.inmobi.rendering.InMobiAdActivity"
     android:configChanges="keyboardHidden|orientation keyboard|smallestScreenSize|screenSize|screenLayout"
       android:hardwareAccelerated="true"
       android:resizeableActivity="false"
       android:theme="@android:style/Theme.NoTitleBar"
       tools:ignore="UnusedAttribute" />
<receiver
android:name="com.inmobi.commons.core.utilities.uid.ImIdShareBroadCastReceiver"
           android:enabled="true"
           android:exported="true"
           tools:ignore="ExportedReceiver">
           <intent-filter>
               <action android:name="com.inmobi.share.id"/>
           </intent-filter>
       </receiver>
Unity Plugin (iOS Integration)
- Download the InMobi Unity Package:
Import the SupersonicInMobiAdapter_[version].unitypackage to your Unity project. You can find the latest InMobi Unity Package here. - Add the InMobi files to your Unity project:
To add the adapter, simply double click on the SupersonicInMobiAdapter_[version].unitypackage and add all files to your Unity project.
Note: Note: If you are upgrading from a previous version, please remove InMobi–.x.x.x.framework from Assets/Plugins/iOS.Our Unity Plugin adds the necessary frameworks automatically to your Xcode project.
Done!
You are now all set to deliver InMobi Ads through the ironSource Mediation platform!
To add additional ad networks, follow the integration guides on our Supported Ad Networks list.