Quickstart Guide to Atom Account Setup
With the power to organize and enrich events from every source, Atom Data Management Flow is your secure, transparent and infinitely scalable data management tool!
We enable thriving companies to take control of their data flow with an advanced infrastructure that saves time and expenses. Simply connect your data warehouse to our system and we’ll manage and optimize your tables and clusters.
To create an account with ironSource.Atom, you must have a Redshift Cluster with the ability to run queries on it. If this is your first time setting up your cluster, navigate to Amazon AWS for instructions.
Reach your full data potential with ironSource Atom by signing up to ironSource.Atom. Complete the following steps to register:
-
Whitelist the IP
-
Create a New User for Atom
-
Provide your Redshift Credentials
-
Grant access to your S3 Bucket
-
Create First Data Stream
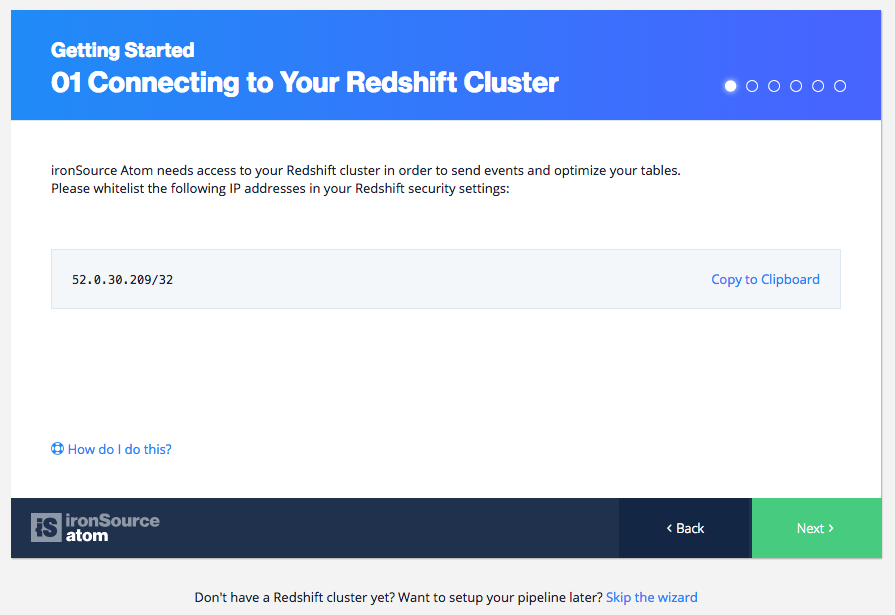
Step 1. Whitelist the IP
To create an ironSource.Atom account, first sign in with your google account and provide an account name.

Next, whitelist the IP provided so that Atom will be able connect to your Redshift cluster. We will always connect to your Redshift cluster through this IP. Follow this step on our Redshift Setup documentation for instructions on how to add our IPs to your cluster.
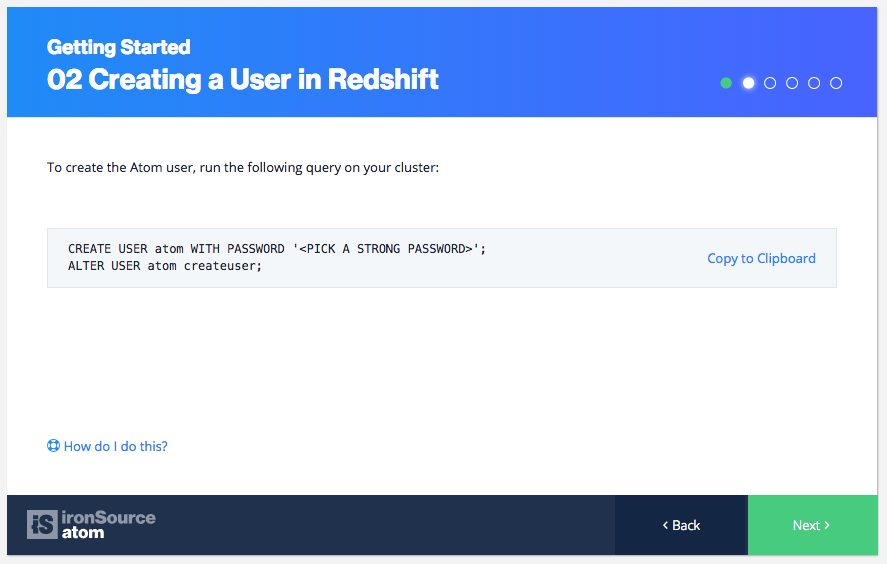
Step 2. Create a New User for Atom
You will need to create a new user in Redshift for specific use for Atom. This is the user we will use when connecting to your cluster. To create a new user, run this query on your cluster:
CREATE USER atom WITH PASSWORD '<PICK A STRONG PASSWORD>';
ALTER USER atom createuser;
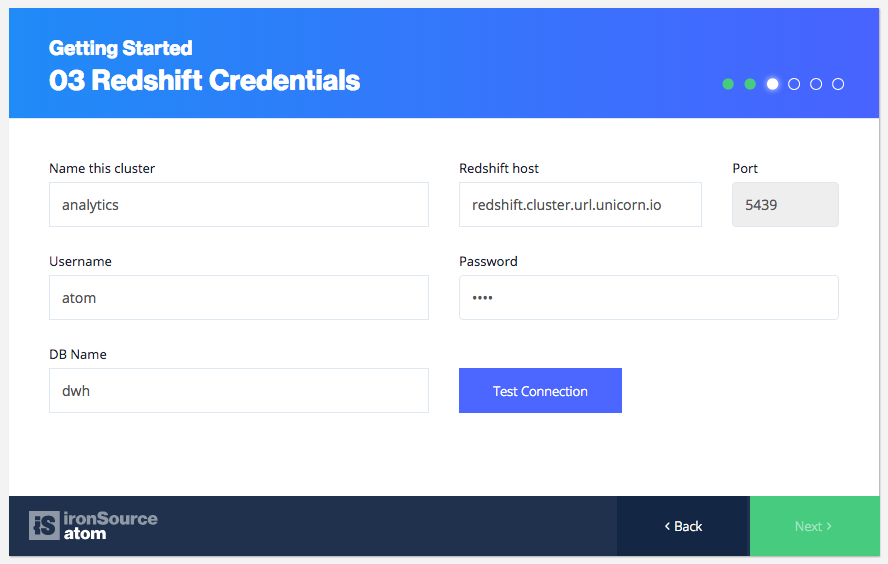
Step 3. Provide your Redshift Credentials
Provide your Redshift credentials so that we can test your connection.
To retrieve these credentials, select the cluster in question on the Clusters page on the Amazon Redshift Console. The Clusters section displays a subset of information about all the clusters for the account in that region. For detailed instructions, read more here.
Before we proceed to request S3 Bucket access, we will test the connection to your Redshift cluster.
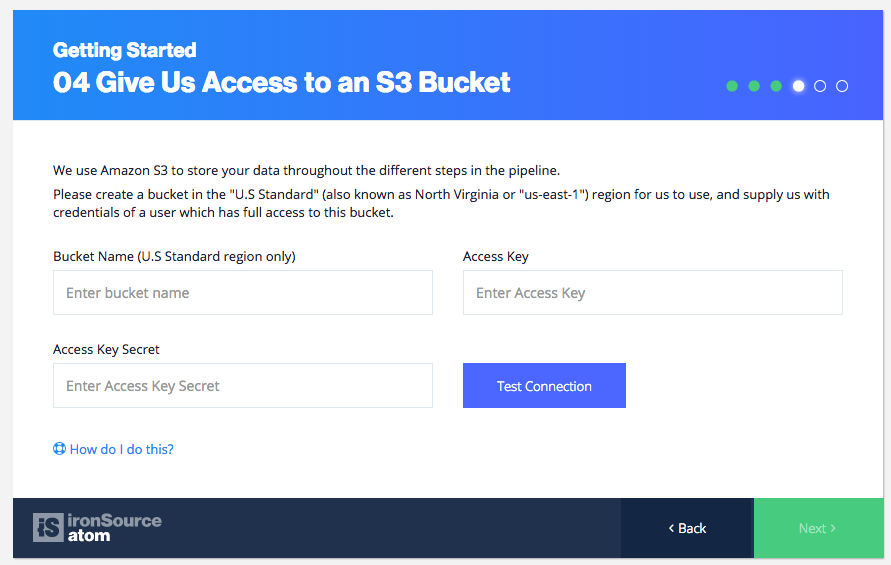
Step 4. Grant access to S3 Bucket
Once we’ve successfully connected to your cluster, we will require access to an S3 Bucket.
You will need a new S3 bucket in the U.S Standard region. To do this, sign into the AWS Management console and open the Amazon S3 Console here. If this is your first time creating a S3 bucket, please read the AWS Documentation for instructions.
Step 5. Create First Data Stream
For your first data stream in ironSource.Atom, you can choose to have a demo table created for you or if you already have an existing table in your Redshift cluster, we will draw data from there.
If this is your first time creating a data stream, learn more about it here.
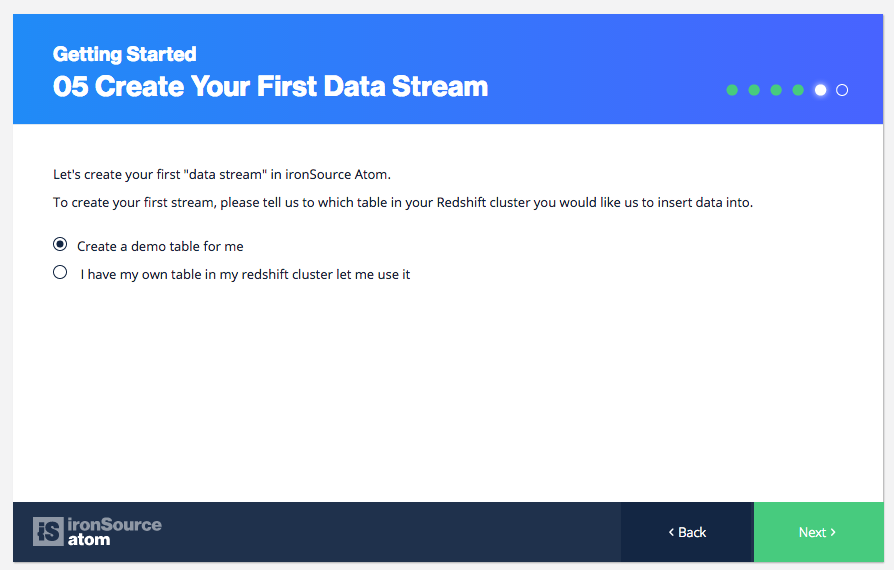
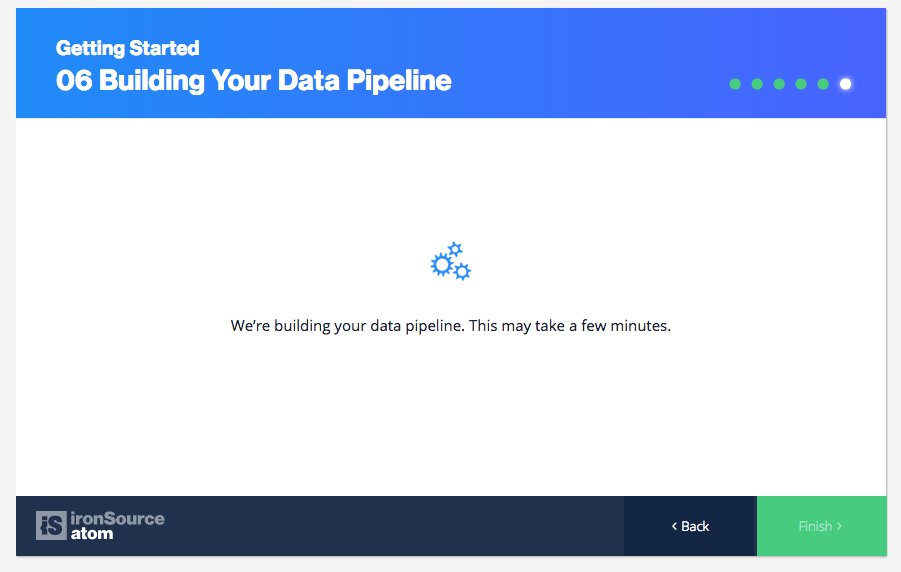
Once you’ve selected your data stream preference, we will start building your data pipeline.
Done!
You are now all set to manage your data on the ironsource.Atom console!
To start enjoying all the benefits Atom Data Flow Management offers, learn more about how you can manage your data.